


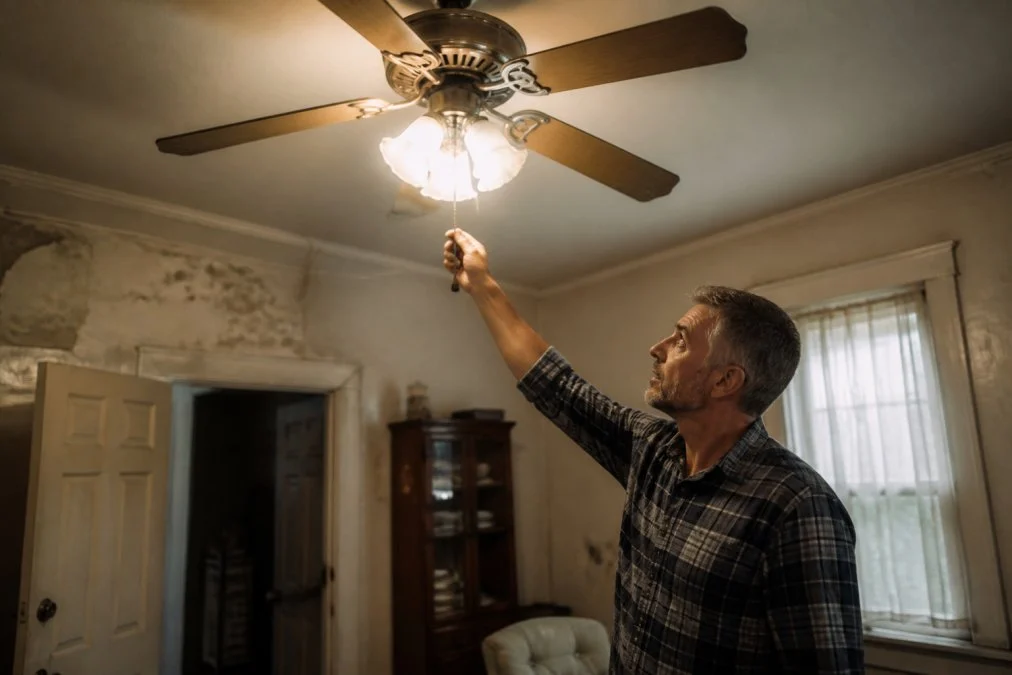
Table of Contents
- Why Old Homes Flicker More Than New Builds
- Flicker or Dimming? Two Problems, Two Fixes
- Step-by-Step: Troubleshooting Flickering Lights in Old Homes
- Signs of Outdated Electrical Wiring You Should Not Ignore
- Your Electrical Safety Inspection Checklist for Flickering Lights
- What the Cost of an Electrical Panel Upgrade Actually Covers
- When to Call a Licensed Electrician for Flickering Lights
- Frequently Asked Questions
Last Updated: September 14, 2026
Why Old Homes Flicker More Than New Builds
Flickering lights in an older house usually trace back to wiring that was never designed for today’s electrical load. Knob-and-tube and early aluminum branch circuits, undersized service panels, and decades of DIY additions all raise resistance and destabilize voltage. When voltage sags, lights flicker.
That’s the core problem most “change the bulb” guides skip. Old homes were wired for a fraction of the appliances, electronics, and EV chargers now drawing from the same circuits.
The sections below walk through a real diagnostic sequence, from the fixture to the service entrance, so you can isolate the cause before it becomes an electrical hazard.
Flicker or Dimming? Two Problems, Two Fixes
Flicker is a rapid, repeating on-off pulse, usually tied to a loose connection, a failing dimmer, or a bulb that doesn’t match its switch. Dimming is a steady drop in brightness when a large appliance kicks on, and it points to voltage drop, load imbalance, or an overloaded circuit.
The distinction matters because the fixes diverge. Flicker is a connection or compatibility problem. Dimming is a capacity problem. Treating one as the other wastes time and can hide a real fault. If your lights pulse constantly, start with Step 1. If they only dip when the HVAC or dryer starts, jump to Step 3.
Step-by-Step: Troubleshooting Flickering Lights in Old Homes
Work through these steps in order, but treat them as a triage sequence rather than a repair manual. The goal is to isolate whether the flicker is a fixture-level problem, a circuit-level problem, or a service-level problem, because each points to a different trade and a different level of urgency. Stop and call a licensed electrician immediately if you find heat, scorch marks, a buzzing sound at a device, or a burning smell at any point.
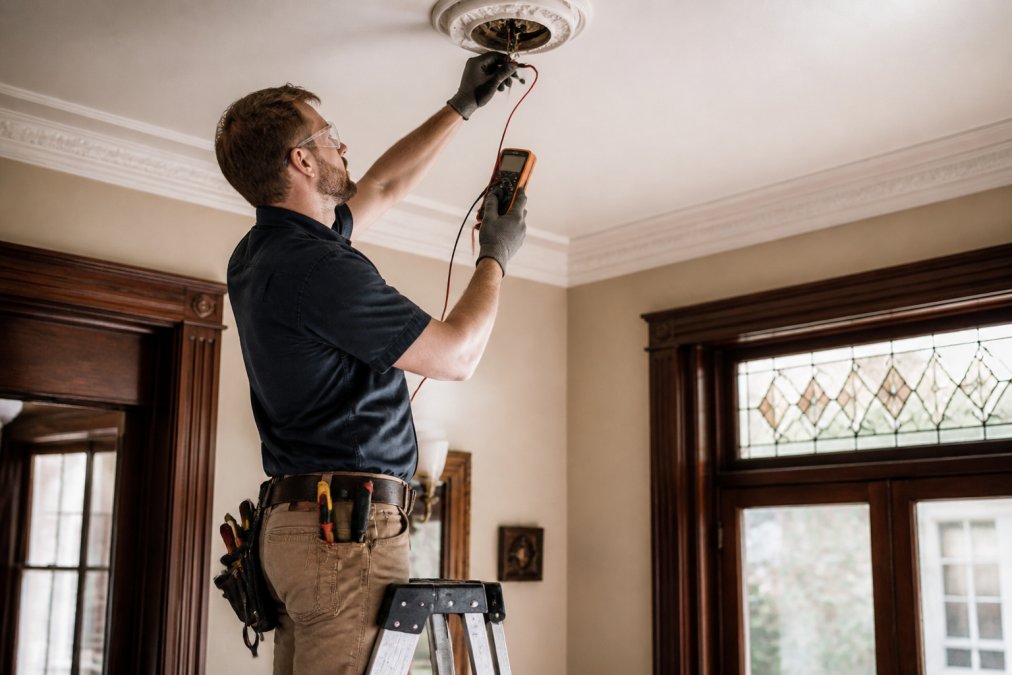
Step 1: Isolate the Fixture (Bulb, Socket, and Switch Leg)
Swap the bulb with a known-good one of the same wattage and base type. If the flicker follows the bulb, you are done. If it stays, the problem is upstream of the bulb. Examine the socket for a bent center contact, corrosion, or a fixture base that has loosened from the box. Overtightening a bulb flattens the center contact and creates an intermittent connection that mimics a wiring fault, a pattern electricians see constantly in older fixtures with brass or aluminum shells.
If the fixture is on a dimmer, bypass the dimmer temporarily (with the breaker off) and test the fixture on a plain switch. If the flicker disappears, the dimmer is the culprit, not the wiring. This single test saves more diagnostic time than any other step.
Step 2: Rule Out Modern Interference Before You Blame the Wiring
This is the step most legacy guides skip. In an old home, a flicker that looks like a loose neutral is often a compatibility problem between modern devices:
- LED bulbs on a non-LED-rated dimmer. A dimmer designed for incandescent loads may not hold a stable minimum load with a 6-watt LED, producing a visible pulse at low settings.
- Smart switches and hubs. Some smart dimmers inject a small trickle current to stay powered, which can cause a low-wattage LED to glow or flicker even when the switch is off.
- LED drivers in the same circuit. Cheap drivers on the same branch as a smart bulb can back-feed noise onto the neutral and cause both to flicker.
- Wireless interference. A dimmer mounted near a Wi-Fi router, a microwave, or a large motor can pick up signal noise that translates to visible flicker.
If the flicker only appears on one smart device and stops when you remove it from the circuit, you have found a device problem, not a house problem. Document it, that distinction matters when you call an electrician.
Step 3: Map the Circuit and Load-Test for Voltage Drop
Turn off the breaker and map every outlet, switch, and fixture on the circuit. Old homes rarely match the panel schedule, and DIY additions over the decades often tapped into the nearest available circuit rather than a properly sized one.
With the circuit energized, measure voltage at the fixture with a multimeter, first with no load, then with the circuit loaded (turn on the appliance or tool that triggers the flicker). A drop of more than a few volts under load signals voltage drop, which usually traces to an undersized wire run, a long home run, a shared neutral, or a corroded connection somewhere between the panel and the fixture (energy.gov). This is the step that separates a guess from a diagnosis, and it is the step most homeowners skip.
Step 4: Inspect Connections, With Legacy Wiring in Mind
A loose neutral is the most under-diagnosed cause of flickering lights, and in an old home the likely locations are specific:
- Backstabbed outlets. Push-in terminals on older receptacles loosen over decades. A backstabbed neutral on a heavily loaded circuit is a classic flicker source.
- Knob-and-tube splices. Original K&T wiring used soldered and taped joints. Those joints can loosen, and the lack of a grounding conductor means any fault has nowhere safe to go.
- Aluminum branch wiring (common in homes built roughly 1965-1973) (cpsc.gov). Aluminum expands and contracts more than copper, so terminations loosen over time. Aluminum-to-copper connections also corrode unless a listed antioxidant and connector are used.
- Panel terminations. Look for discolored insulation, melted wire nuts, or a neutral bar with more than one conductor under a single screw.
Check the fixture, the nearest junction box, and the panel. Any connection showing discoloration, heat damage, or arcing is a genuine hazard, not an annoyance, arc faults inside a wall are a leading cause of residential electrical fires, and flickering is often the only warning a homeowner gets.
Never ignore flickering that is paired with a warm switch plate, a buzzing outlet, a faint burning smell, or a light that brightens when a large appliance shuts off. Those point to arc fault or neutral-loss conditions that can start a fire inside the wall.
If you complete Steps 1 and 2 and the flicker persists across multiple fixtures on the same circuit, stop testing and call a licensed electrician. Multi-fixture flicker is a circuit or service problem, and it is not a homeowner-level repair.
Signs of Outdated Electrical Wiring You Should Not Ignore
Outdated wiring announces itself in patterns, not single events. Watch for these signs of outdated electrical wiring:
- Two-prong outlets with no grounding
- A fuse box instead of a circuit breaker panel
- Cloth-wrapped or brittle wiring insulation
- Aluminum branch wiring in pre-1970s homes
- A 60-amp or 100-amp service feeding a modern load
- Warm or discolored outlet covers
- Breakers that trip repeatedly under normal use
Any one of these warrants a professional evaluation. Several together mean the system is due for a service entrance and panel review.
Your Electrical Safety Inspection Checklist for Flickering Lights
Most guides hand you a list of things to look at. This one is built as a triage tool: each item is scored by what it tells you and how urgently you should act. Work through it before you call anyone, so you can describe the problem accurately and so you know whether you are looking at a nuisance or a hazard.
Tier 1, Stop and Call Now
If any of these are true, do not continue troubleshooting. Turn off the affected circuit at the panel if you can do so safely, and call a licensed electrician.
- A switch plate, outlet cover, or fixture is warm to the touch
- You smell burning, fishy, or acrid odors near a device
- You see scorch marks, melted insulation, or discolored wire nuts
- You hear buzzing, crackling, or popping at an outlet, switch, or panel
- The flicker is accompanied by a partial power loss elsewhere in the house
- A breaker trips repeatedly, or a fuse blows when you reset it
These signs point to arcing, a failing neutral, or a failing panel, conditions that can start a fire inside a wall. Flickering is often the only warning before a fault becomes a fire.
Tier 2, Diagnose Before You Call
These items help you narrow the cause. Note your answers; they will save the electrician time and you money.
- Is the flicker constant, or only when a specific appliance runs (HVAC, dryer, microwave, EV charger)?
- Is it one fixture, one room, or the whole house?
- Did it start after a new appliance, EV charger, smart switch, or LED retrofit?
- Does it happen at all dimmer settings, or only at the low end?
- Does it stop when you bypass the dimmer?
- Does it happen on both legs of the panel, or only one side?
Constant flicker on one fixture points to a connection at that fixture. Flicker that appears only when a large load starts points to voltage drop or a shared neutral. Whole-house flicker points to the service entrance or the utility supply.
Tier 3, Document the System
These items describe the house itself. They are the context an electrician needs to quote and plan the work.
- Panel brand and amperage rating (photograph the label)
- Panel type: breaker or fuse box
- Presence of aluminum branch wiring (common in homes built roughly 1965-1973)
- Presence of knob-and-tube wiring (common in homes built before roughly 1950)
- Presence of cloth-wrapped or brittle insulation
- Two-prong outlets with no equipment ground
- Age of the service entrance and meter base
- Any recent utility work, neighborhood outages, or storm activity
Photograph the panel label, any scorch marks, and any wiring you can see safely without opening a box. Do not open a panel cover yourself, the main lugs remain energized even with the main breaker off.
A Federal Pacific Stab-Lok or Zinsco panel is a known-hazard panel. If you have one, treat any flicker as a priority call rather than a wait-and-see. Some contractors will not service these panels and may recommend replacement instead.
How to Use This Checklist
If you cleared Tier 1 and your answers in Tier 2 point to a single fixture, a bulb, or a dimmer, you can likely handle the fix yourself. If your answers point to multiple fixtures, a shared circuit, or anything in Tier 3, you are looking at a circuit-level or service-level issue that belongs with a licensed electrician. Bring this completed checklist to the call, it turns a vague “my lights flicker” conversation into a targeted diagnostic visit and often shortens the job.
What the Cost of an Electrical Panel Upgrade Actually Covers
The cost of an electrical panel upgrade depends on amperage, panel type, permit requirements, and whether the service entrance needs replacement. Pricing depends on the specific requirements of each job, so we provide quotes after an on-site evaluation.
A panel upgrade typically covers the new panel and breakers, upgraded service conductors, grounding and bonding, a permit and inspection, and labor. If your home has a Federal Pacific or similar known-hazard panel, replacement is a safety priority, not an optional upgrade. For current pricing on your property, contact Accurate Electric LLC for a quote or check our website directly.
Ask any electrician to confirm the panel brand before quoting. A Federal Pacific or Zinsco panel changes the scope entirely, and some contractors won’t touch them.
When to Call a Licensed Electrician for Flickering Lights
Call a licensed electrician when flicker persists after a bulb and dimmer swap, when it affects multiple rooms, or when you find heat, arcing, or a burning smell. Those symptoms point to problems inside the panel or walls that aren’t safe to diagnose with a homeowner’s toolkit.
Smart home devices can also interfere. Dimmers, smart switches, and LED drivers sometimes conflict and produce flicker that looks like a wiring fault but isn’t. A licensed electrician can separate device interference from a genuine loose neutral or voltage drop.
If you’ve had multiple electricians fail to find the cause, that’s a signal to bring in someone who will run load testing and inspect the whole circuit, not just swap parts. Accurate Electric LLC brings over 31 years of combined experience and code-compliant diagnostics to exactly these cases.
Frequently Asked Questions
What electrical fault causes flickering lights in an older home?
The most common causes are loose neutral wire connections, worn light bulb sockets, incompatible LED dimmer switches, and voltage fluctuations from the power grid. In older homes, aging wiring insulation, overloaded circuits, and outdated electrical panels add risk. A loose neutral is particularly common and can cause lights to flicker throughout the house, not just in one room.
Why should you never ignore flickering lights in an older home?
Flickering lights can signal a loose connection, overloaded circuit, or failing electrical panel, all of which are fire hazards. Arc faults from damaged wiring insulation are a leading cause of electrical fires. If the flickering is whole-house, accompanied by a burning smell, or follows a buzzing sound, shut off the circuit and call a licensed electrician immediately for a safety inspection.
How can I safely troubleshoot flickering lights without professional help?
Start by swapping the bulb and tightening it in the fixture base. If the flicker continues, test the dimmer switch compatibility with your bulb type. Check whether the flicker happens on one circuit or throughout the house. You can use a multimeter to check voltage at the fixture, but do not open the electrical panel or work inside a junction box unless you are trained and the power is off at the breaker.
When is it time to call a licensed electrician for flickering lights?
Call an electrician if the flickering affects multiple rooms, if you see scorch marks or smell burning, if the circuit breaker trips repeatedly, or if your home has aluminum or knob-and-tube wiring. Homes with Federal Pacific or outdated panels should also get a professional electrical safety inspection. A licensed electrician can perform load testing and identify hazards that a visual check misses.
Flickering lights in an old home are a symptom, and the fix depends on finding the real cause, whether that’s a loose neutral, an incompatible dimmer, or a panel that’s past its service life. Accurate Electric LLC offers licensed, insured electricians, code-compliant solutions, and specialized residential and commercial troubleshooting backed by over 31 years of combined experience. Get started with Accurate Electric LLC and get a clear diagnosis instead of another guess.












continue reading
Related Posts
Commercial electrical alternatives: Compare commercial electrical contractors in the Tampa Bay area. Find licensed alternatives for panel upgrades.
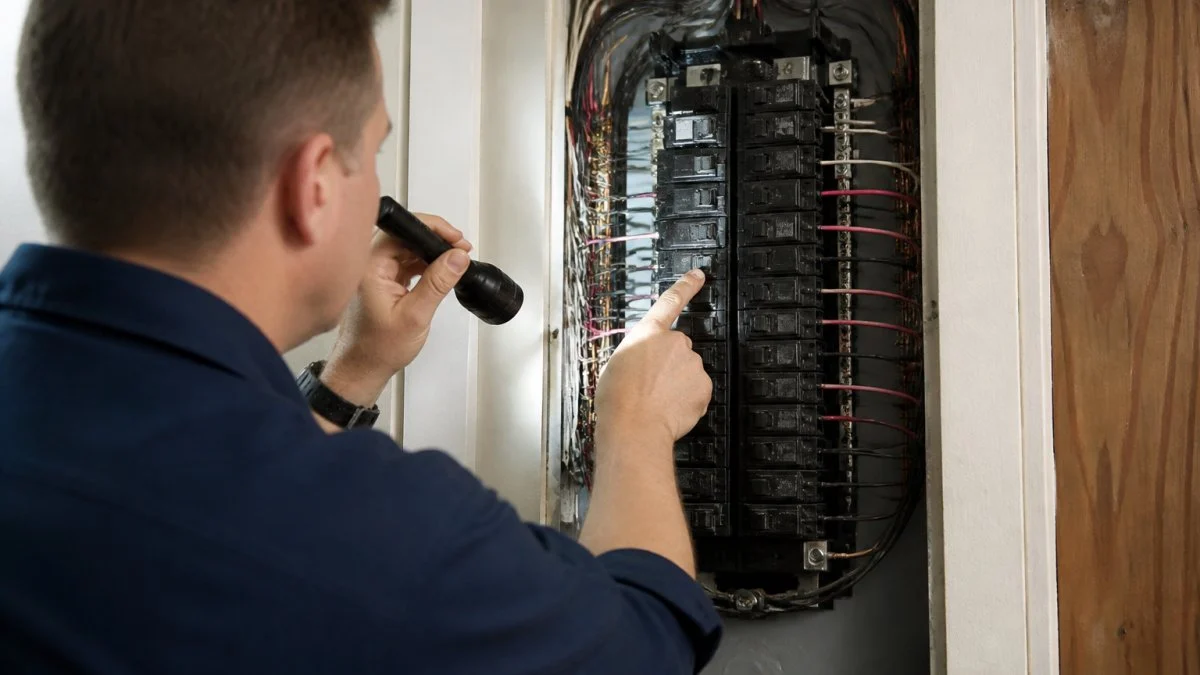
Find top residential electrical safety inspection services. Compare licensed contractors, learn what inspections cover, and discover red flags. Get expert.
Preventing electrical surges: Learn how to prevent electrical surges in commercial buildings with layered protection strategies, NEC compliance.
Get Social