


Table of Contents
- How Long Does Panel Replacement Take
- Factors That Affect Panel Replacement Timeline
- The Step-by-Step Panel Replacement Process
- Is It Safe to Keep a Zinsco Panel in Your Home
- 100 Amp to 200 Amp Upgrade Process
- Electrical Panel Replacement Cost and Permitting Delays
- Emergency vs. Scheduled Replacement
- Homeowner Preparation Checklist
- Frequently Asked Questions
Last Updated: September 25, 2026
How Long Does Panel Replacement Take
Understanding how long does panel replacement take requires knowing that timelines vary widely. A straightforward swap takes 4 to 8 hours of labor, but permitting, inspections, and utility scheduling stretch the total project to 4-12 weeks.
Factors That Affect Panel Replacement Timeline
Panel type and condition matter most. A 100-amp-to-100-amp swap takes less time than upgrading to 200 amps. Older panels with corroded connections or Federal Pacific and Zinsco units require extra care during removal.
Service upgrades add significant time. Upgrading from 100 to 200 amps requires larger gauge wiring and new conduit, adding 4 to 8 hours of labor.
Permitting and inspections create the biggest timeline delays. Permits take 5-10 business days to process, and inspector scheduling can add 1-2 weeks.
Utility company coordination is often overlooked. Utility companies control disconnection and reconnection scheduling, which can add 1-3 weeks depending on workload.
Home wiring condition affects installation speed. Aluminum wiring and underground service lines require extra time; damaged wiring may need replacement before panel installation.
The Step-by-Step Panel Replacement Process
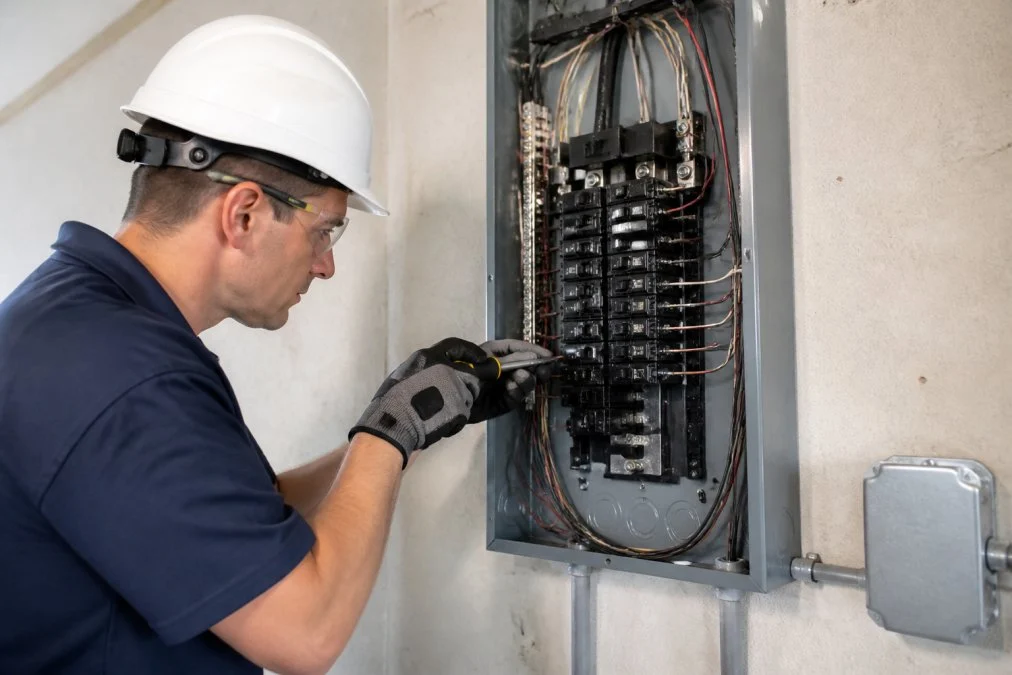
Step 1: Permit and Inspection Scheduling (5-10 business days)
Your electrician files the permit application. You’ll receive a permit number and pre-work inspection appointment. This must complete before the utility company will schedule disconnection.
Step 2: Pre-Work Inspection (1-2 hours)
An inspector verifies the existing installation meets code and is safe to disconnect. This clears the way for utility company disconnection scheduling.
Step 3: Utility Company Disconnection Scheduling (3-21 days)
After pre-work inspection, your electrician requests disconnection. Utilities typically schedule 1-2 weeks out; peak seasons may extend to 3-4 weeks. You must be home during the scheduled window when the utility technician cuts power and disconnects the main service line.
Step 4: Panel Removal (1-2 hours)
Once power is disconnected, the electrician removes the old breaker box, disconnects all breakers, unbolts the panel, and disconnects the service line. Older panels and Federal Pacific or Zinsco units require extra care.
Step 5: Service Line Inspection and Upgrade (if needed) (1-4 hours)
For a 100A-to-100A swap, the existing line usually remains. For upgrades, the electrician replaces the service line with heavier gauge wire. Underground service line upgrades add 4-8 hours.
Step 6: Installation of New Panel (2-4 hours)
The new panel is mounted, the service line is connected to the main breaker, circuit breakers are installed and labeled, and load calculations verify the panel capacity matches your home’s demand.
Step 7: Utility Company Reconnection Scheduling (3-21 days)
After installation, the utility company must reconnect the main service. Some utilities allow reconnection immediately after disconnection; others require final inspection approval first. Reconnection takes 1-2 hours.
Step 8: Final Inspection (1-2 hours)
An electrical inspector returns to verify the new installation meets code. They test grounding, bonding, breaker operation, load calculations, and service line connections. The inspection report is filed with your local authority. The permit is officially closed.
Final inspection scheduling often creates the longest delay in the entire process. If your local authority has a backlog of inspections, you may wait 2 to 3 weeks for a final inspection appointment. Some jurisdictions allow expedited final inspections if the work is complete and ready, but this varies by jurisdiction.
Total timeline breakdown:
Hands-on electrician labor: 4-8 hours (1 day)
Permitting and pre-work inspection: 1-3 weeks
Utility disconnection scheduling and execution: 1-3 weeks
Utility reconnection scheduling and execution: 1-3 weeks
Final inspection scheduling and execution: 1-3 weeks
Total project timeline: 4-12 weeks for a standard panel replacement; 6-16 weeks for a service upgrade.
The single largest factor in your overall timeline is utility company scheduling, not electrician labor. Coordinating with your utility company early and confirming disconnection and reconnection dates in advance can compress your timeline by 1 to 2 weeks.
Is It Safe to Keep a Zinsco Panel in Your Home
Zinsco panels have a documented history of breaker failures. The breakers can stick in the on position even after tripping, which means they won’t shut off during an overload. This creates a serious fire hazard.
Insurance companies increasingly refuse to cover homes with Zinsco panels. Lenders often require replacement before closing on a property sale. The Consumer Product Safety Commission has documented failures in these panels (Commission Closes Investigation Of FPE Circuit Breakers And Provides Safety Information…).
If your home has a Zinsco panel, replacement is not optional, it’s a safety necessity. The timeline for Zinsco replacement follows the same process as any other panel swap, but the safety risk makes it more urgent. Don’t delay scheduling work if you have this panel type.
100 Amp to 200 Amp Upgrade Process
Upgrading from 100 amps to 200 amps requires more than just swapping the panel. The service upgrade process involves the entire electrical system from the utility meter inward.
What changes in a service upgrade:
- Main service line gauge increases from smaller wire to heavier gauge capable of handling 200-amp load
- Meter base may need replacement to accommodate 200-amp service
- New 200-amp main breaker replaces the old 100-amp breaker
- Panel capacity expands to handle more circuits
- Load calculations must verify the upgrade matches your home’s actual needs
Timeline for 100 to 200 amp upgrade:
The hands-on work takes 6 to 10 hours. But the full project timeline stretches longer because the utility company must approve the upgrade and schedule disconnection and reconnection. Many utilities require 2 to 4 weeks for scheduling.
A 100 to 200 amp upgrade is one of the most common reasons homeowners need panel replacement. Modern homes with air conditioning, electric heat, EV chargers, and multiple appliances often exceed 100-amp capacity.
Electrical Panel Replacement Cost and Permitting Delays
Permitting is where most projects lose time, but the delay mechanics vary significantly by jurisdiction. Understanding how your local authority processes electrical permits helps you plan realistically and identify where bottlenecks occur.
How municipal permitting works:
Most jurisdictions require an electrical permit before any panel work begins. Your electrician submits an application that includes the existing panel specifications, the new panel details, load calculations, and a site plan showing the panel location. The local authority’s electrical department reviews the application against the National Electrical Code (NEC) and any local amendments.
Local amendments are critical. Some jurisdictions adopt the NEC with no modifications, while others add stricter requirements.
Typical permitting timeline by stage:
- Application submission and initial review: 3-7 business days (varies by jurisdiction backlog)
- Pre-work inspection scheduling and completion: 5-14 days (depends on inspector availability)
- Electrical work completion: 1 day
- Final inspection scheduling and completion: 5-14 days (often the longest wait)
- Permit sign-off and approval: 2-5 business days
Emergency vs. Scheduled Replacement
Emergency panel replacement happens when your panel fails or creates an immediate safety hazard. Scheduled replacement is planned work to upgrade capacity or replace an aging panel.
Homeowner Preparation Checklist
Preparing your home for panel replacement reduces complications and speeds the process.
Before the electrician arrives:
- Clear the area around your electrical panel (3-foot minimum clearance)
- Remove items stored against the panel or breaker box
- Note any flickering lights or electrical issues to discuss with the electrician
- Confirm your home’s current amperage (check your electric bill or existing panel)
- Identify any circuits that are critical (refrigerator, medical equipment, etc.)
- Plan for power outage during disconnection and reconnection
- Notify neighbors if you have a shared meter or service
- Have your permit number and inspection appointment details ready
Day of installation:
- Ensure the electrician has clear access to the panel location
- Keep family members and pets away from the work area
- Have a flashlight ready for power outage periods
- Unplug sensitive electronics to prevent damage from power restoration
- Plan to be home during disconnection and reconnection (required by utility company)
After installation:
- Request the final inspection report from your electrician
- Keep permit documentation for your records
- Test all circuits and outlets to verify power restoration
- Note any new breaker labels for future reference
- Schedule a follow-up if any circuits don’t work properly
Frequently Asked Questions
How much does a full panel replacement cost?
Electrical panel replacement cost depends on several factors including your home’s current amperage, whether you need a service upgrade, local permitting fees, and your electrician’s labor rates. A straightforward panel swap typically costs less than upgrading from 100 amps to 200 amps or replacing an outdated panel like a Federal Pacific or Zinsco unit. For accurate pricing tailored to your specific situation, contact a licensed electrical contractor for an on-site assessment and quote.
What factors cause an electrical panel replacement to take longer?
Several factors extend panel replacement timelines beyond the standard 4-8 hours. Service upgrades that increase amperage require utility company coordination and meter base modifications. Permitting and inspections add days or weeks depending on your local jurisdiction. Older homes with aluminum wiring, outdated main lug setups, or hazardous panels like Zinsco units may require additional safety work. Difficult access to the panel location, underground service lines, and weather conditions also impact labor hours.
Is it safe to keep a Zinsco panel in my home?
Zinsco panels carry documented fire and safety risks due to breaker failures and potential arcing issues. Many insurance companies and electricians recommend replacing them rather than continuing to rely on them. If your home has a Zinsco panel, a licensed electrical contractor can assess whether immediate replacement is necessary or if temporary measures are appropriate while you plan an upgrade. Safety standards and NEC compliance favor replacement over continued use.
Can I upgrade my electrical panel from 100 to 200 amps?
Yes, upgrading from 100 amp to 200 amp service is a common installation that increases your electrical capacity for modern appliances, EV chargers, and heating systems. This upgrade requires a service upgrade involving the meter base, main breaker replacement, and utility company coordination. The 100 amp to 200 amp upgrade process typically takes longer than a simple panel swap, often 8-16 hours depending on whether your existing wiring and grounding meet current electrical code standards. Permits and inspections are mandatory.
Panel replacement is straightforward when you understand the timeline. The hands-on work takes one day, but permitting and inspections add weeks. Accurate Electric LLC handles every step, from permit applications to final inspections, so your panel upgrade stays on schedule and meets all electrical code requirements. Contact us for a consultation and a realistic timeline for your specific project.












continue reading
Related Posts
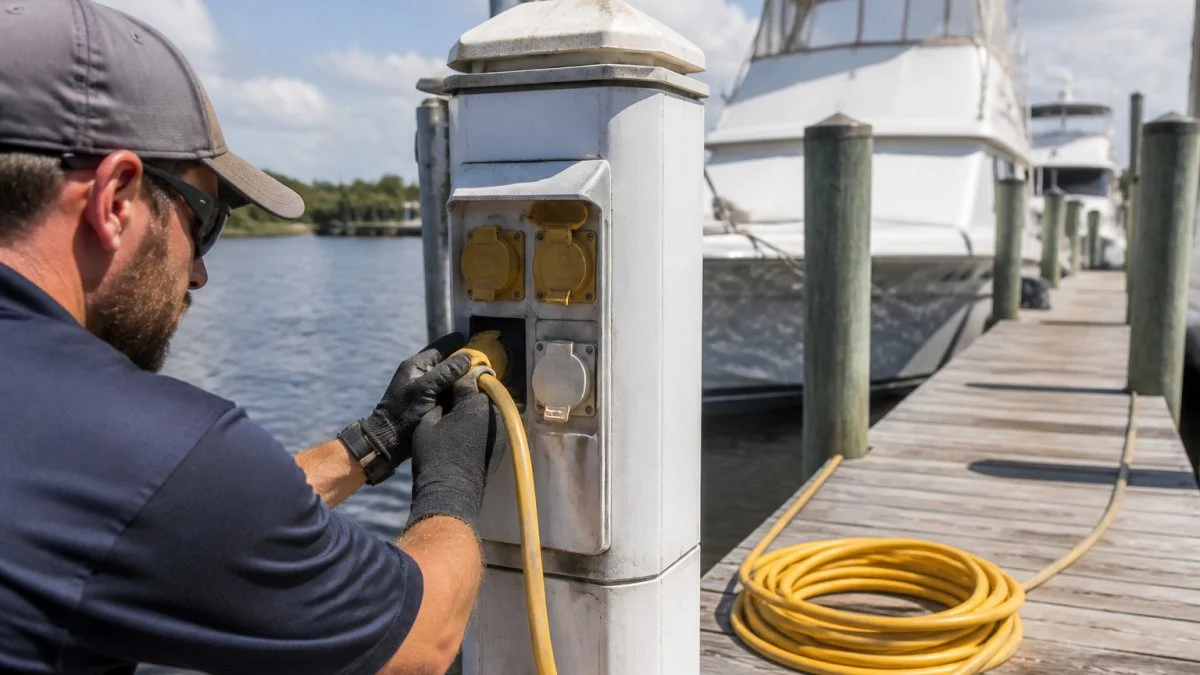
Learn NEC Article 555 requirements for dock and marina electrical installations, GFCI/GFEP protection, shore power, and safety compliance standards.
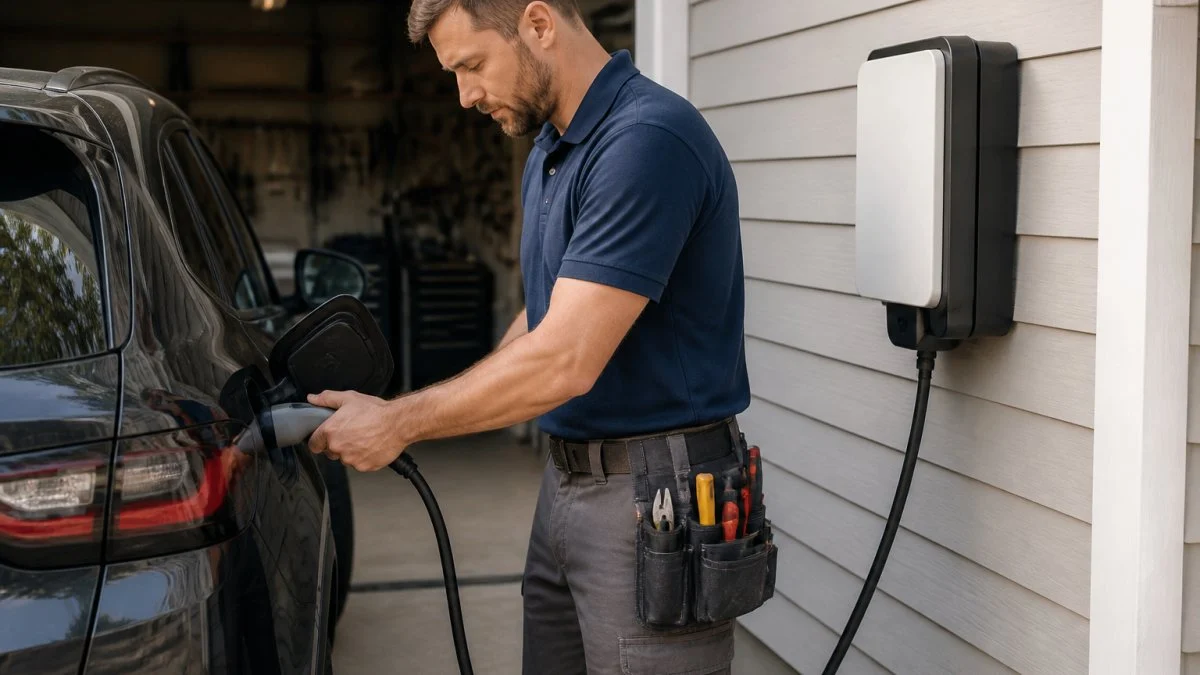
Learn how to hire a qualified electrician for EV charger installation. Find credentials, costs, permits, and safety standards you need to know.
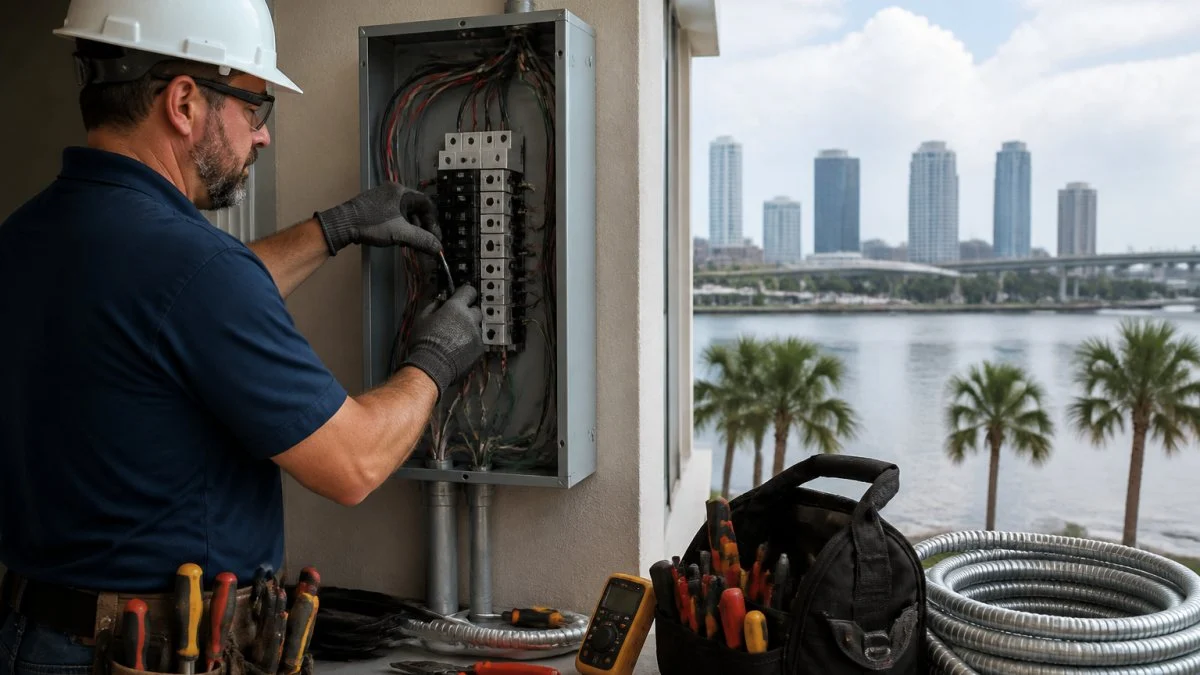
Licensed electrician tampa bay: Find licensed electricians in Tampa Bay with verified credentials, emergency services, and transparent pricing.
Get Social